Angels applique embroidery tutorial
In order to create the Angel applique embroidery, featured on our site, you will need:
- An appliqué embroidery design – SKU 10496 Country Angels Applique Set
- Tear-away embroidery stabilizer
- Suitable cotton fabric
- Machine embroidery thread
- Adhesive spray
Step-by-step instructions
Important note: During all procedures listed below do NOT take the fabric off the hoop
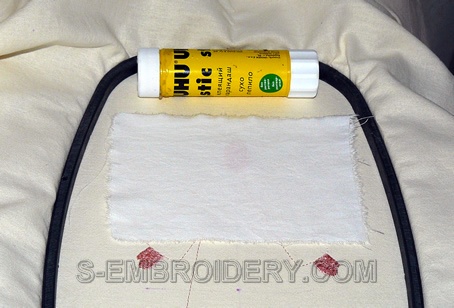
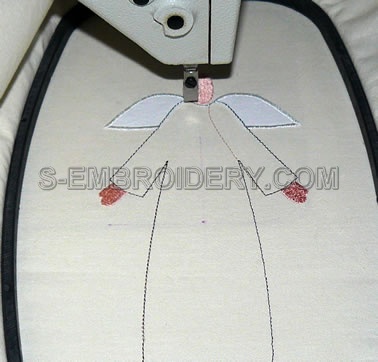
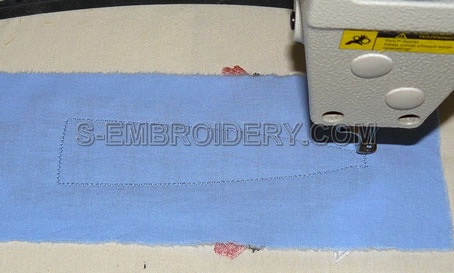
1. Hoop the fabric with tear-away stabilizer and stitch out the first 3 colors of the design.

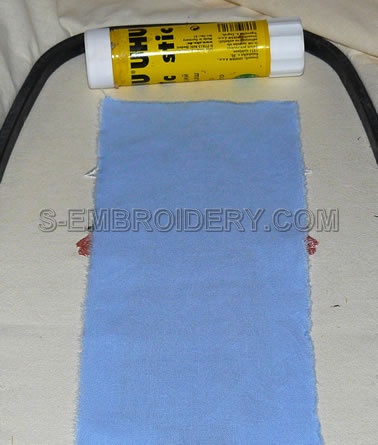
2. Take the hoop off the machine, place the fabric for the wings on top and attach it with adhesive spray or glue stick.
3. Stitch out the next color.
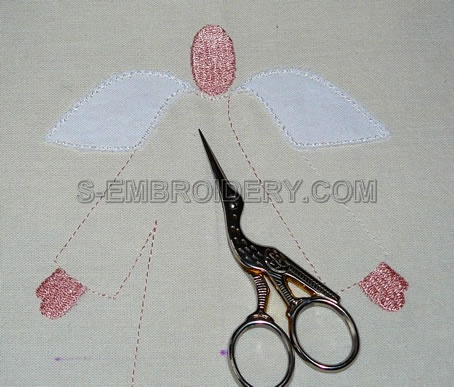
4. Cut away the excess fabric
5. Stitch out the next color – the outline of the wings.
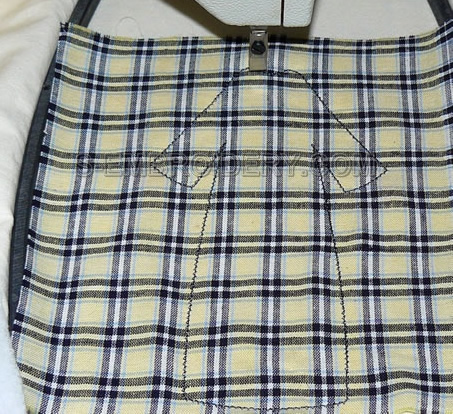
6. Stitch out the next color – the outline of the dress.
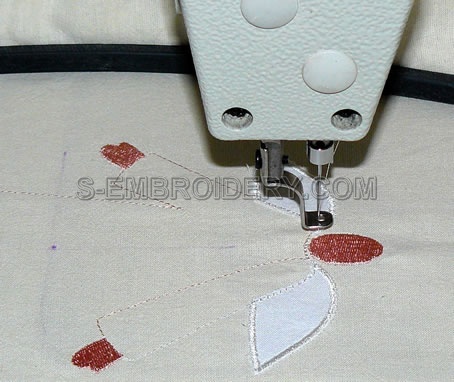
7. Take the hoop off the machine, place the fabric for the dress on top and attach it with adhesive pray or glue stick.

8. Stitch out the dress
9. Cut away the excess fabric
10. Stitch out the next color
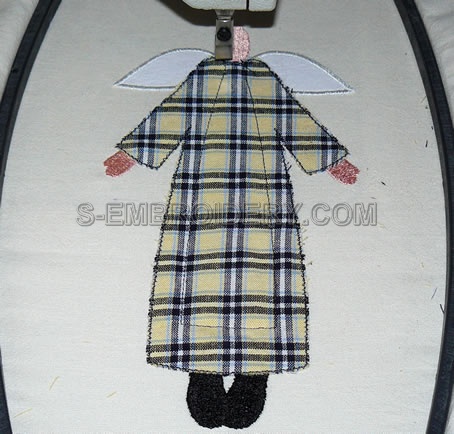
11. Take the hoop off the machine, place the fabric for the apron on top and attach it with adhesive spray or glue stick.
12. Stitch out the next color to attach the fabric.
13. Cut away the excess fabric
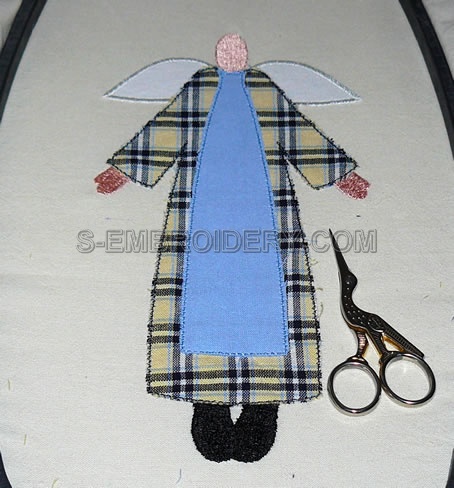
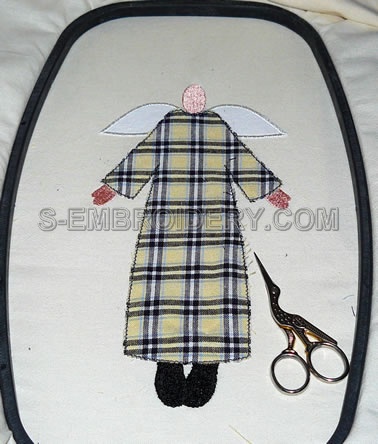
14. Place the hoop back on the machine and stitch out the remaining colors.

Note: The other 2 angels are created in generally the same way but there are some differences. Please consult the color charts in the design information files.
When all 3 angels are ready, you may place them on patchwork as featured on our web site. The size is shown on the image below.